
Most of the shots from my animation involve character interactions. This shot was the most difficult to animate as it involves not two, but four characters and a physical struggle. There are multiple simultaneous movements indicating actions and reactions between characters. So to keep track of each character, I created three layers in Photoshop, one for each character; The nurse (red), Billy (yellow), and the hospital workers (green).
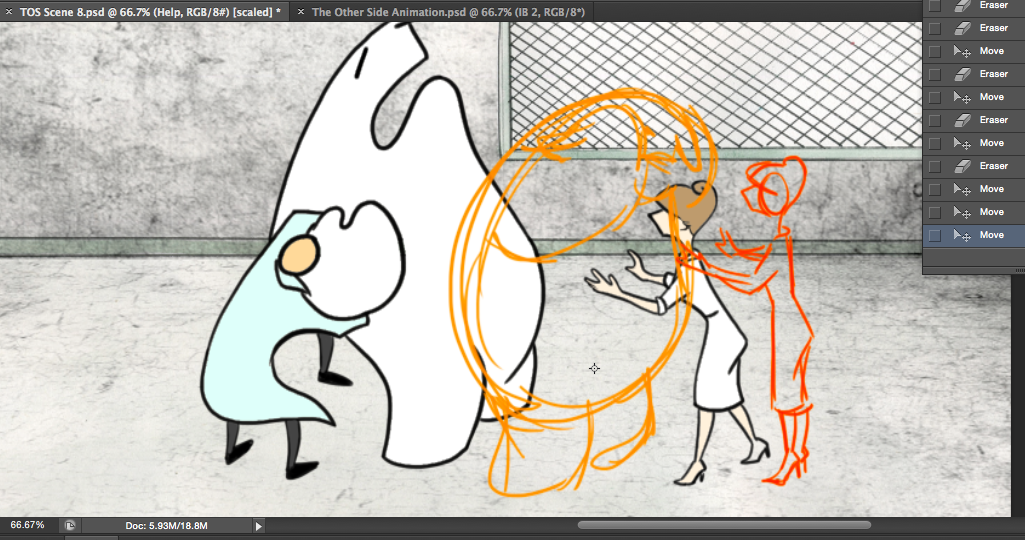


For each frame, I sketched my characters in action on their individual and separate layers to see how the movements and arrangements play out. The advantage of having each character on a separate layer is that if I want to change the orientation or location of a character, I can easily move them around within their own layer.
Once I am satisfied with the sketches, I select the layer I had intended for the shot and trace the final positions. After this, I fill the color in immediately. I decided at the beginning of this project that I want to get the animation done in one go instead of revisiting to color each frame. Another advantage of coloring straight away is that it made it a lot easier for me to identify the volume of my characters through Onion Skin.
_____


For this shot, I struggled most with trying to figure out how to arrange the sink so that it can be in front of Billy but at the same time, behind his arm. After fumbling around awkwardly for solutions, I came up with on that will most likely be replaced by a much better idea in the future. All I did was out the sink on it's own layer and place it first before all of the other layers
I took advantage of a few of the 12 principles of animation throughout this project. Here is one example of Squash and Stretch


Arcs! Billy is pulling a water basic from the concrete ground. To plan out the line of action for the water basin, I drew out arcs from point A to point B. I had a separate layer for Billy as well as a separate layer for the water basin. In the picture directly above, you will notice that the In-between sketches (red) are closer to points A and B instead of the center position. This is because I wanted the action to speed up a lot in the middle and slow in and slow out.

After the scene was complete, I noticed how quickly Billy moved. I thought it would be much better to slow down the first part of the shot as Billy prepares to pull out the basin. I stretched the moment Billy is pulling away at the basin to three frames worth. Then I added another frame/layer in which I stretched out Billy even a bit further.
Here is the scene:


No comments:
Post a Comment